Menu
If you’re getting started with Google Ads for the first time, it can be daunting to know how to get your account set up properly, so we’re here to walk you through the first stage after you create your account. Or, if you just need a refresher on how to set up a Google Ads Search Campaign, this article will show you exactly how to build a campaign.
Also, if you haven’t checked out our article on getting started with Google Ads, we highly recommend giving it a read before moving ahead, as it will give you a solid basis for planning out your campaigns.
When it comes to creating your first campaign in Google Ads, take a moment to consider a few things…
1. Consider the business and the different products/services you offer.
A great place to start is to look at your site’s navigation and see the different offerings listed under ‘products’ or ‘services’ (or whatever is relevant to your business). These products or services would very likely be a good starting place when determining your campaign structure (i.e. one campaign for every service or for every product category).
2. Consider how much you want to spend per campaign.
Google Ads runs to daily budgets, so if you work to a monthly spend, divide that number by 30.4 (average number of days in a month) to get your daily budget.
3. You will need to think about exactly which locations people should be in to see your ads.
Using Google Ads, you’ll have the ability to target as broad as full countries, down to cities, postcodes, and even custom radius’s around a particular area. If your business serves an international market, you may want to have campaigns to individually target these locations in their own language as well. If you have a local audience, radius and postcode targeting may be a better fit for your needs.


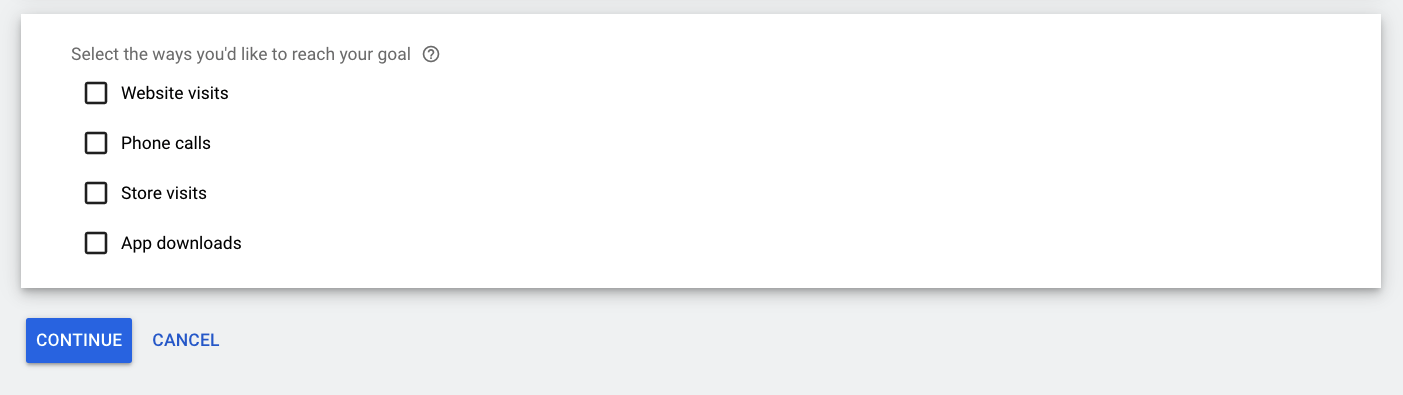

Here you can work your way through the settings, most are pretty self-explanatory, but we’ll take you through them anyway
General Settings

Locations – Think about where your audience is located – do you service a local area, or are your services available to a national or even international audience?
Under locations, you have the option to:

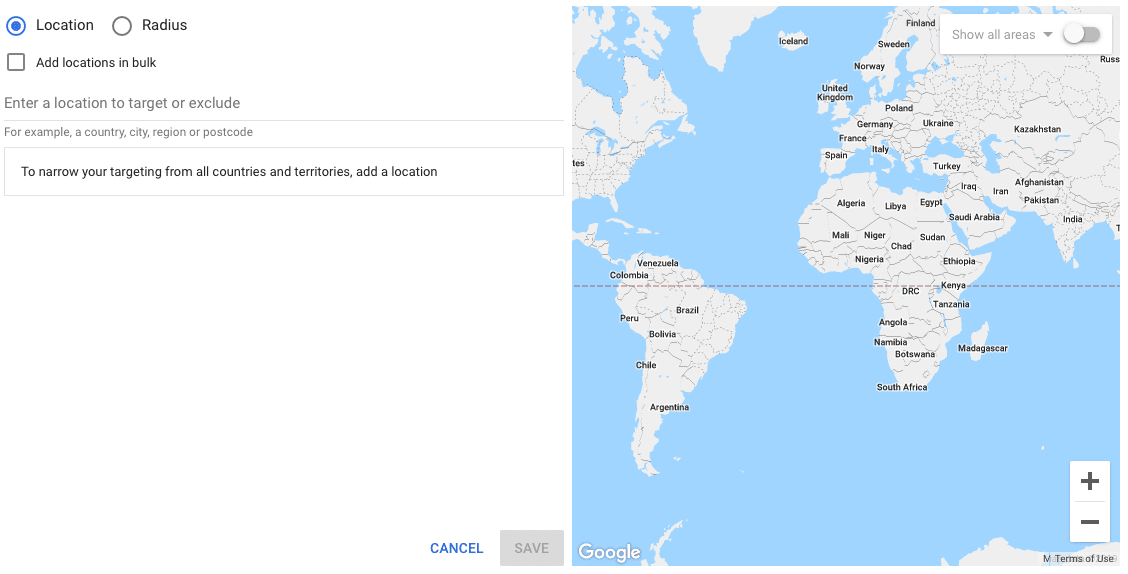
To target certain areas within a country, like states or provinces, particular cities or regions, specific postcodes or a country not shown in the pre-set options:
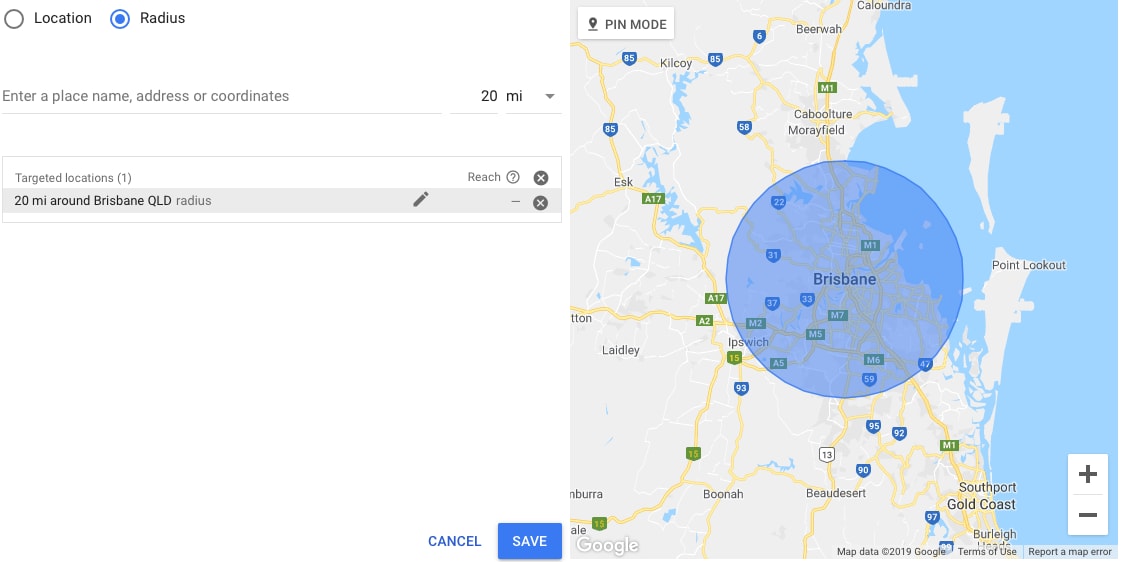
To target a particular area, such as a specific driving distance from your business, you’ll want to use radius targeting:
You can also exclude locations you don’t want your ad to show for by following these steps:

Languages – Select the languages you want to target
Audience Segments – You can narrow your audience by applying (or excluding) different audience segments. It’s best practice to at least exclude those segments that do not apply to your business.

In this section, you’ll be asked to add your daily budget and bidding options. If you’re working towards a monthly budget, you’ll need to divide that number by 30.4 (average number of days in a month) After setting your budget, you’ll need to add your bidding options. Your bidding choice will impact the price for your clicks so it’s wise to know exactly how these work – We’ve written an article on how different bid types work.
You can also set a maximum cost per click bid amount, doing so will grant you more control over your budget, ensuring that you don’t spend any more than you’re willing to for a single click.
What is our recommendation? Maximize clicks until some data starts rolling in, then if tracking conversions, move to tCPA or tROAS.


Finally, you’ll have the option to add ad extensions to your campaign. Extensions add additional, valuable information to your ad which can see it result in better click-throughs. There are many different types of extensions, so take a look and consider which ones might be best for your business goals.

Nice work – you’re almost done!

You’ll remember from our previous article about getting started with Google Ads that ad groups sit within campaigns and contain keywords and ads; so it makes sense that next, you’ll need to create the first ad group to sit within your campaign.
Give your ad group a name (something that is relevant to the grouped keywords within that ad group) and add the keywords that you want your ads to be triggered by.
When you’re adding keywords, make the most of ‘match types’ to help control the kinds of searches that your ad will appear for. Take a look at the different match types that are available and consider how wide you want to cast your net when it comes to advertising. The broader your match types, the more visibility you will get, but this will likely result in increased spend – so be careful.

You’re ready to get creative building your first ad!
It’s easy to create an ad in Google Ads, but it requires a lot of consideration to create a great one. An expanded text ad (ETA) contains a final URL, 3 headlines, and two descriptions while a responsive search ad (RSA) contains up to 15 headlines and 4 descriptions. Each of these (except for your final URL) have maximum character counts that you’ll need to work within – we recommend trying to get as close to the maximum as possible in order to make use of the ad real-estate available.
To create an ETA, first, you need to add your final URL. This is the page on your website that traffic will land on once clicking your ad.
When it comes to building out your headlines, we suggest using a keyword from your list as the first headline so that there’s a clear and visible match between the search query, and your ad. For your second headline, consider a unique selling point/benefit for your product or service and include it here. Finally, your third headline should be a call to action.
Finally, add two descriptive lines that will entice the user to click through to the landing page. What you describe in your ad should be relevant to the product or service that is described in more detail on the landing page you are leading traffic to. Our best tip here for creating good descriptions is to focus on one key benefit for each, e.g. your first description could focus on the experience of your team, and the second could focus on convenient locations. Be sure to add a call to action at the end of your descriptions to motivate click-throughs to your site.

Once you’re happy with your ad, hit save and continue and you’ll have the chance to review your completed campaign from a top-level view, complete with your ad group, keywords and ad before pushing it live.
Repeat the process to ensure that each ad group has two ETA that can be tested against each other to find one that outperforms the other.

The next article in this series covers what you should be checking after the first month and will help get to grips with all the new data you will have by then.